
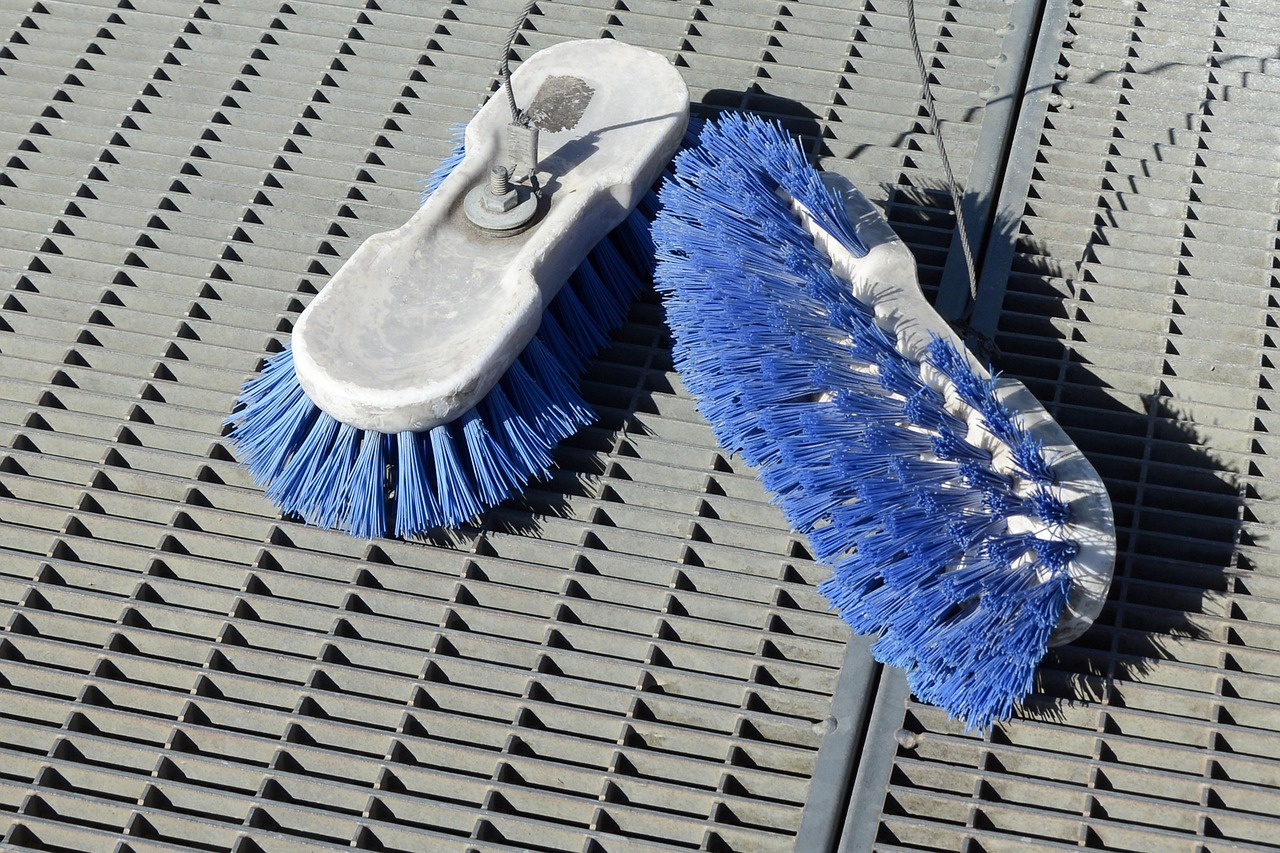
Pitch-side brushes for removing outsole debris. These coarse brushes are not the soft brush used on an upper. Photo: anncapictures / Pixabay, Pixabay Content License.
A repeatable cleaning routine is easier than trying to rescue a pair that has spent several wet sessions sealed in a bag. Start with the care instructions for your exact material and model. The steps below summarize common manufacturer guidance and organize it into a practical routine; they are not a test of cleaning products.
Before you begin
Set out a gentle brush, a cloth, a small bowl of water and mild detergent if permitted by the shoe’s care instructions. Keep the work area easy to wipe down. Take a moment to identify delicate coatings or material-specific instructions before treating every part of the shoe the same way.
1. Remove the loose debris
Brush away grass and excess dirt from the sole and upper. Use care around the joint between the upper and outsole. You do not need to attack a stubborn spot with a sharp tool to finish the whole job immediately. If a cleaning method risks damaging the material, pause and check the model’s instructions.
2. Clean gently by hand
Nike recommends hand washing with mild detergent and warm water. adidas also describes cleaning with a mild-detergent mixture and a washcloth, followed by removing the soap with water. Use a gentle approach and remove the residue rather than leaving detergent on the shoe. Do not infer that permission to wash removable laces means the entire cleat can go through a machine. Nike care guide · adidas care guide.
3. Give the parts room to dry
Remove laces and removable insoles where the model permits it, and follow their own cleaning instructions. Let the cleats air-dry indoors with ventilation. Both manufacturers warn against direct heat; adidas also advises avoiding direct sunlight and storing the shoes only once completely dry. A hair dryer or tumble dryer is not a shortcut worth substituting for the recommended process.
4. Reset the bag
Our suggested routine ends with the next session: return dry equipment to a breathable storage setup, and keep a separate place for the dirty kit. Put cleaning supplies where you unpack. If you usually forget the shoes until the next match, set a reminder for when you arrive home rather than relying on motivation after a late game.
Care does not repair damage
Cleaning is a useful time to notice a separating sole, missing stud or damaged closure. Record the issue and contact the seller or manufacturer where appropriate. Washing a pair does not establish that it is suitable to keep playing in, and this guide does not promise a specific lifespan.
A repeatable unpacking checklist
Use the shoe’s own care instructions for the cleaning method. This checklist is our suggested way to make the routine easier to repeat.
| When | Task | Done when |
|---|---|---|
| After the session | Separate wet shoes from the clean kit | Shoes are not left sealed with wet clothing. |
| At home | Remove loose debris and clean as the material allows | Residue is removed without aggressive scraping. |
| Drying time | Arrange ventilation away from direct heat | All parts are dry before storage. |
| Before repacking | Check the closure, upper-to-sole join and studs | Any new damage has been noted. |
| Before next use | Confirm the pair is ready for the intended field | You are not discovering a problem at kickoff. |
Keep a small wear record
Take photographs of the same areas when a pair is new and at intervals you can repeat. Record the date, approximate sessions and main playing surface. The photographs will not prove a cause, but they help you describe what changed rather than rely on memory.


If a sole begins to separate or a stud is damaged, keep that issue separate from ordinary dirt. Cleaning cannot establish that a damaged pair is fit to use. Contact the manufacturer or seller for product-specific guidance where needed. We have not performed a controlled durability test.
Sources & scope
Research-based guide. Sources checked November 1, 2026. This article is not a hands-on product test.
Keep reading
- AG vs FG vs TF: How to Choose Soccer Shoes for Your Field
- Soccer Cleat Fit Guide: Check Length, Width and Heel Hold
- Soccer Cleat Tiers Explained: Compare the Pair, Not Just the Name
Read next
03
Inspect a leather-boot unboxing
Look at the construction details of a Morelia Neo IV β Japan pair.